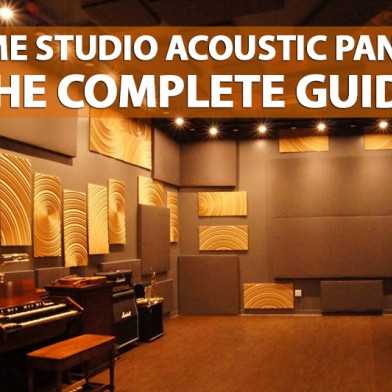
Home Studio Acoustic Panels: The Complete Guide
- 21 August 2020 23:40:31
- Reviews: 0
- Views: 1015
-

Everyone agrees that it is IMPORTANT for a quality recording to have acoustic processing in your studio?
And after setting up your bass absorbers, the next step is to add acoustic panels .
But newbies often ask themselves:
- How many panels do I need?
- How much will it cost me?
- Can I make them myself?
- How to install them?
If you think you are in one of these stages right now...
You know well that in today's article, I have created a step-by-step guide for you that covers all these and many other issues.
Let's start! Primarily…
Choose your method
Homemade soundproofing panels vs prefabricated acoustical panels . The two main methods for adding acoustic panels to your studio are:
- Make your own panels - it will take a bit of a trip to the Epicenter, as well as some carpentry knowledge... but you will definitely save money by choosing this method.
- Buy them directly - obviously it will take you less time, but will cost a little more.
- If you are a handyman, then be sure to choose the first method.
And if you're good with the instrument, you'll be able to create something of your own than what you might find on the internet, but perhaps less effective at isolating.
However ...
If this is your first studio and you have no experience with acoustic processing, I recommend that you start with at least a box of prefabricated panels to get an idea of how an acoustically processed room should "sound".
So if you ever decide to make your own panels, you will know exactly what type of panels to look for.
Before we get into the complicated DIY techniques, let's start with the basics...

Finished acoustic panels
When you search for acoustic panels online, you will notice that we are comparing 4 key features:
- Thickness
- surface pattern
- Dimensions / Quantity
- Noise reduction ratio
Here are the criteria I recommend for each of these characteristics:
Thickness
Acoustic panels are usually available in two thicknesses: 5 cm or 10 cm. And although there is an opinion that "bigger, thicker, better ..."
In this particular case, 5 cm thick panels are considered the reference for the room.
They don't absorb as much low frequencies as 10cm thick panels, but that's okay.
Indeed, if you act properly, your bass traps will take care of those low frequencies.
Drawings on the surface
Most panels have some sort of three-dimensional pattern in the form of pyramids or "pointed waves" on their outer surface.
And while the nature of the pattern can affect performance... the differences are minimal, and no pattern is superior to the others.
Thus, you can choose the template of your choice without worrying about its effectiveness.
Dimensions / Quantity
Panel sets usually consist of:
- 6,
- 12 or
- 24 panels
With the following possible sizes:
- 30 cm²
- 60 cm²
- 60×120 cm
So size and quantity don't matter. But connected, they are most effective because they determine the total surface of the covered wall.
While the ideal area varies from room to room, most studios start at around 14m².
And it is for this reason that many base packages include one of these three combinations:
- 48 - panels 30 cm²
- 12 - panels 60 cm²
- 6 - panels 60 × 120 cm
For the average home studio where wall damage is a REAL problem...
I recommend using small panels due to their lighter weight and ease of installation using non-permanent adhesive.

Noise reduction ratio
Read the description of panels from any reputable brand and you will notice that each model has a noise reduction factor between 0 and 1, and is used to measure its sound absorption efficiency.
The higher the value, the greater the absorption.
And while this number may sound complicated, it doesn't really matter much to recording studios.
Explanations :
The test used to determine this value between 0 and 1 only measures 4 frequencies:
- 2000 Hz
- 1000 Hz
- 500 Hz
- 250 Hz
In other words, NOTHING is measured below 250Hz, which is where the vast majority of studio frequency problems lie.
Some manufacturers even skew the test conditions to get higher values.
10 Great Kits I Recommend
Now that you have a clear idea of which features are important and which are not...
I'm going to show you 10 of the most popular sets on the market so you have enough options to find one that suits your room/budget.


